Giant baggy linen boxer shorts, no matter how sheer, are not sexy. I must write that out somewhere.


 |  |


 Overall I'm pretty happy with how it's looking. I've found some mistakes that are annoying me towards where I started the piece, but there's not much I can do about that now. You really can't see them unless you look super hard so it's not a big deal. Certainly nothing that detracts from success of the piece. The only issue I really have is that the color values seem somehow off. It was all good until I started in on the green, then the gold got sort of washed out. I'm not really sure if if the green needed to be lighter or a brighter shade, or if I should have gone with a different color or perhaps a lighter blue or tone the whole thing down, but it does look good with the book that it's meant to go with.


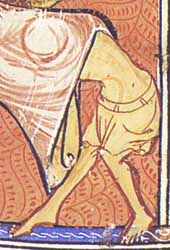
 I gave a presentation last night on the Morgan Bible, sometimes better known as the Maciejowski Bible, for my local SCA group. The Morgan is the theme for our next big event, which is also out kingdom's spring coronation, so I'm hoping that at least one or two people were able to get inspired to make something based on the manuscript. I certainty did, but sadly as I am running the competition I can't enter. Boo! At least it takes the pressure off needing to get a project finished by a deadline, though that can be a really good thing sometimes (witness, the never ending book cushion).


 The DH and I went to LA this weekend, partly to visit with my family and partly to work on Top Secret Project Number 1 (more on that later). It was a nice trip, even if I did bring the cold weather with me and of course no coat. Who bring a coat to Southern California? Seriously?
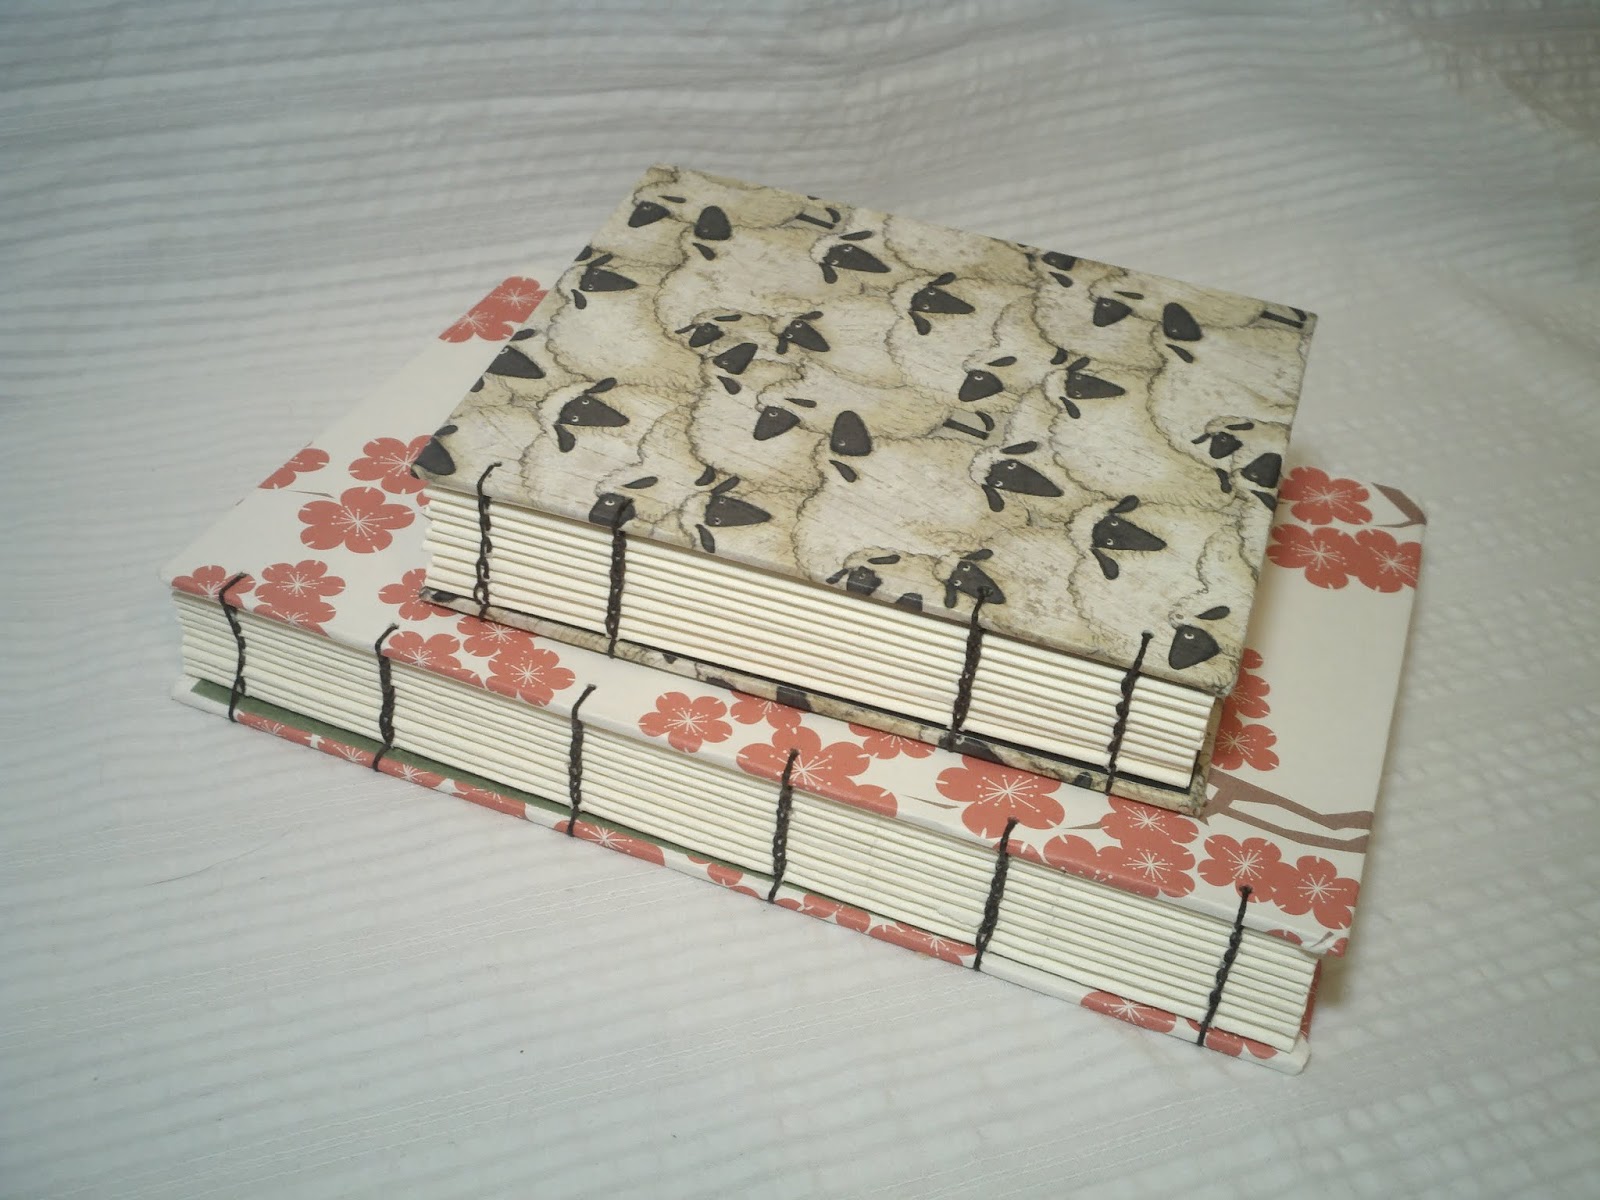
 Anyway, my cousin's girlfriend was teaching a class on Coptic bookbinding at this amazing little place called The Makery (if you are in the LA/Orange County area, check it out! very cool space) on Saturday and since I was there I signed up. Yay for bookbinding! How did I not get to do this sooner? Sewing AND glue? Seriously? It's my two most favorite things ever, all in one place! I'm now super bummer I never took any book arts classes as an undergrad, there was apparently amazing book arts programs at my undergrad college. Oh well.

 Anyway, what I've come up with isn't quite right but it will get the job done and is a reasonable approximation of what it should be. I used a bit of metal tubing from the local hardware store and some jewelry wire to make thing, plus a bit of solder to keep the wire from sliding off the tube. My wrapping is just not that great. Instead of using a plain chain to suspend the case, I made a beaded chain with some beautiful lamp worked beads made by a local lamp-worker who was selling them at KASF this weekend.
| I got the volumes on whitework and goldwork as Christmas gifts this year and am very impressed. While not aimed specifically at the historically minded crowd, they cover the actual hows and whys of the subject, as well as bit of history. The instructions are clear and the photography is both beautiful and helpful. They won't take the place of in-person instruction for those who really need it, but if you learn well from books, or have had some class instruction and just need a reminder these are a great resources. And at around $15 new, the prices are great! A lot of other needlework books focus either on history to the exclusion of instruction, or pack in so much information that they overwhelm the reader and it becomes difficult to find the directions you need one how to execute a particular stitch when you need it. These seem to fill the gap quite neatly and should prove to be a valuable reference for both new and experienced needleworkers. The goldwork book in particular has a wonderful section on threads, explaining in detail the difference between all the different types of gold threads and how best to work them. This alone is worth the price of the book, as for whatever reason this very important information seems to be missing from all of the other books on goldwork that I have in my library. Kind of important stuff, and wonderful to have all in one place! The author also does a great job explaining what sorts of working threads to use with the metal and emphasis the need to use the right sorts of needles and reserve needles and scissors for use with metal threads alone (critical, as the metal damages them and makes them useless for more delicate silks and cottons). I am looking forward to picking up the volumes on blackwork and crewel work. |
